
AuditMate Installation and Setup Instructions
Congratulations on your decision to install your new favourite audit/accounting program! We are excited to take you through the steps to successfully starting your AuditMate journey.
BEFORE YOU BEGIN:
Please read through the following instructions thoroughly and entirely. Your AuditMate program will not function correctly if you do not follow all of the steps below. Onwards!
INSTALLATION
. Select “Download Program” under the AuditMate tab from our Downloads page:
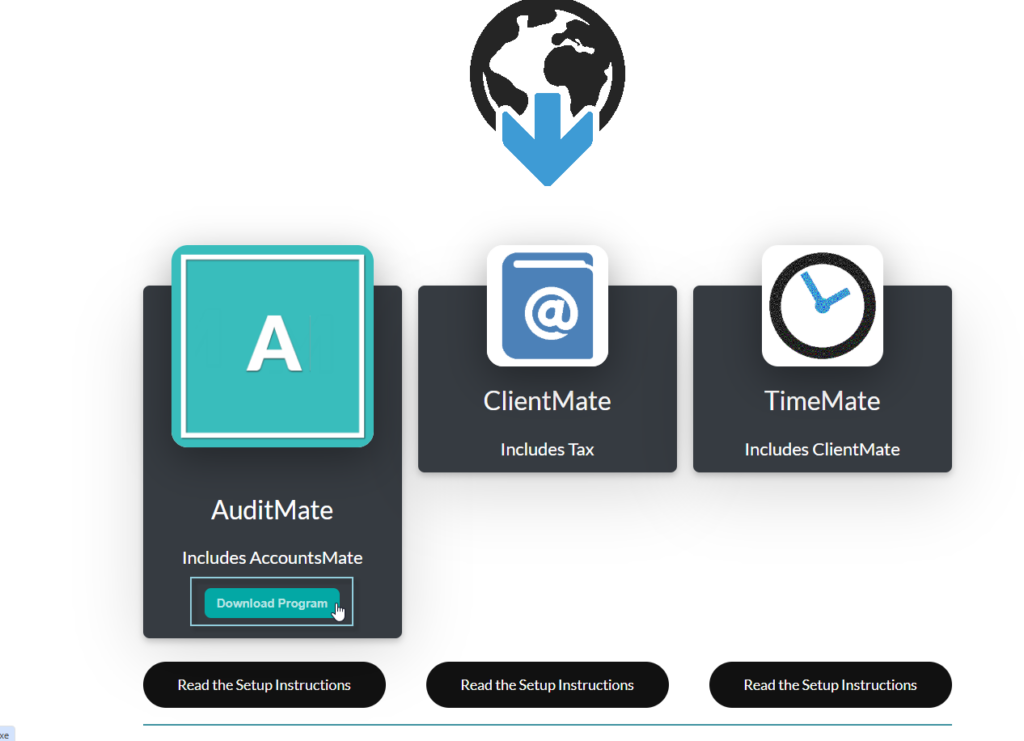
The download will begin in the top right section of your browser:
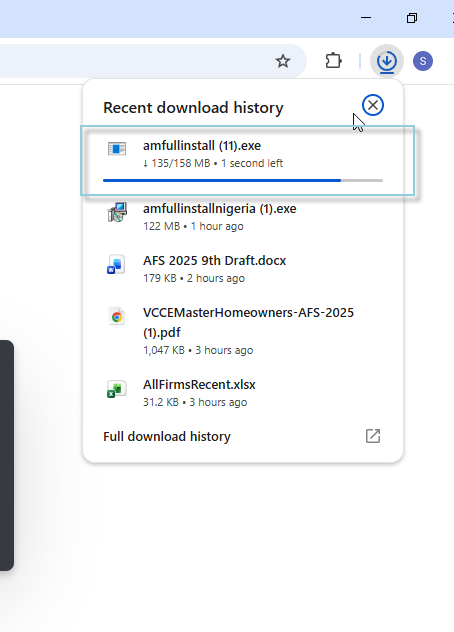
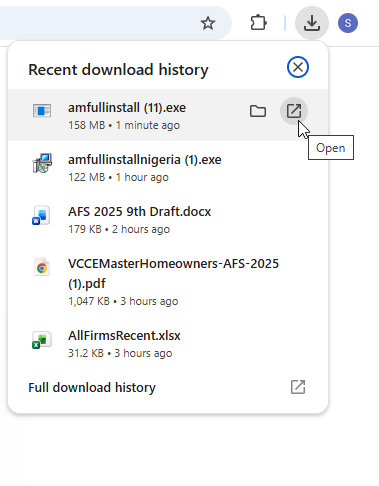
Once the download has completed, select the arrow icon to launch the installation file:
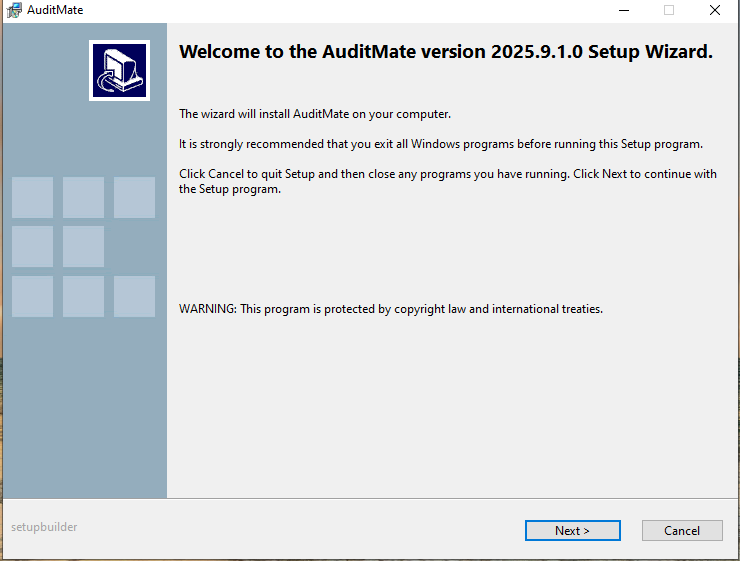
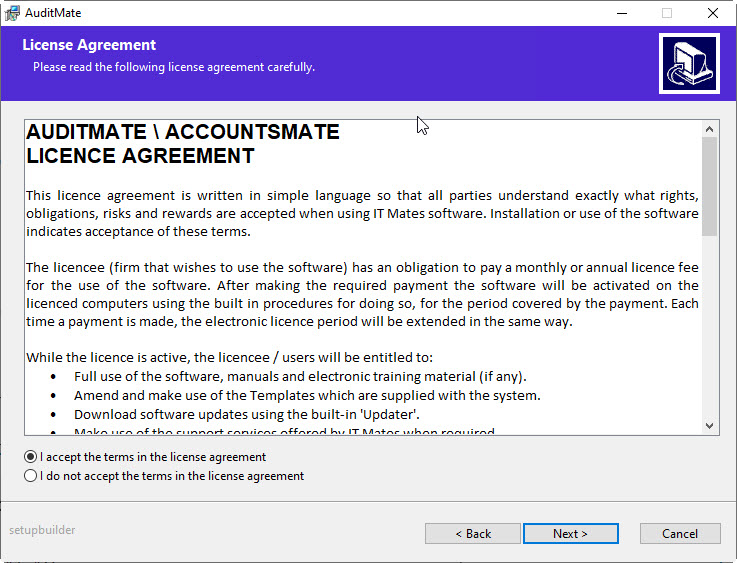
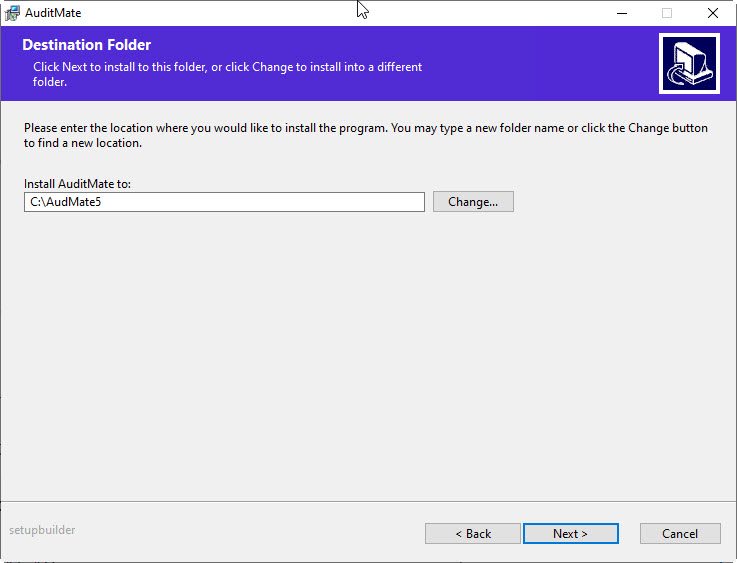
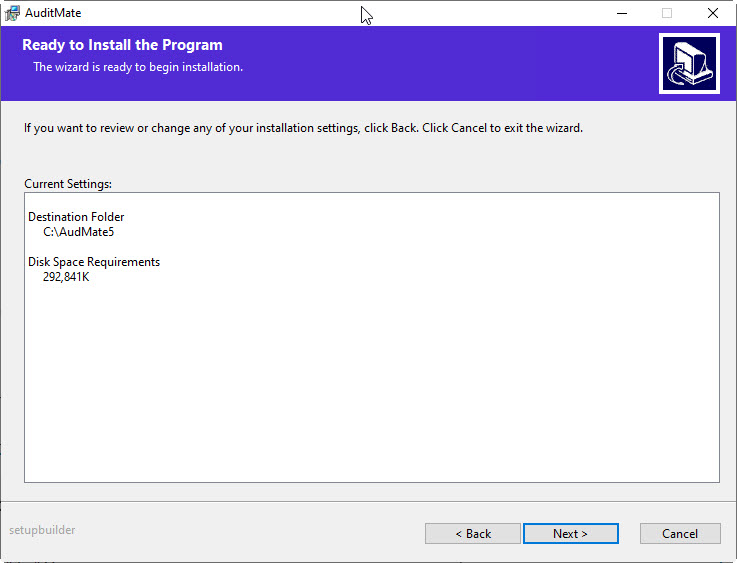
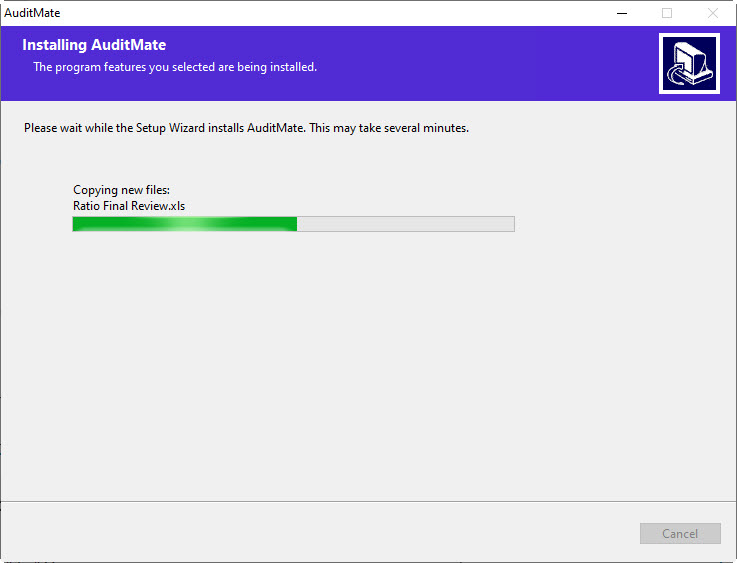
Follow the prompts on the Install Wizard

REGISTRATION
After the installation finishes, you will get a pop-up that says the licence is not registered for this device:
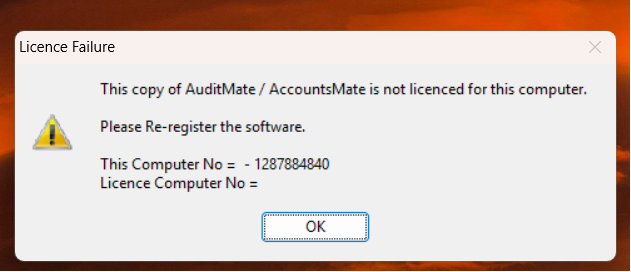
This is normal – especially if this is your first time downloading the program on your device. Click “OK” and follow the prompts to end up on the registration screen:
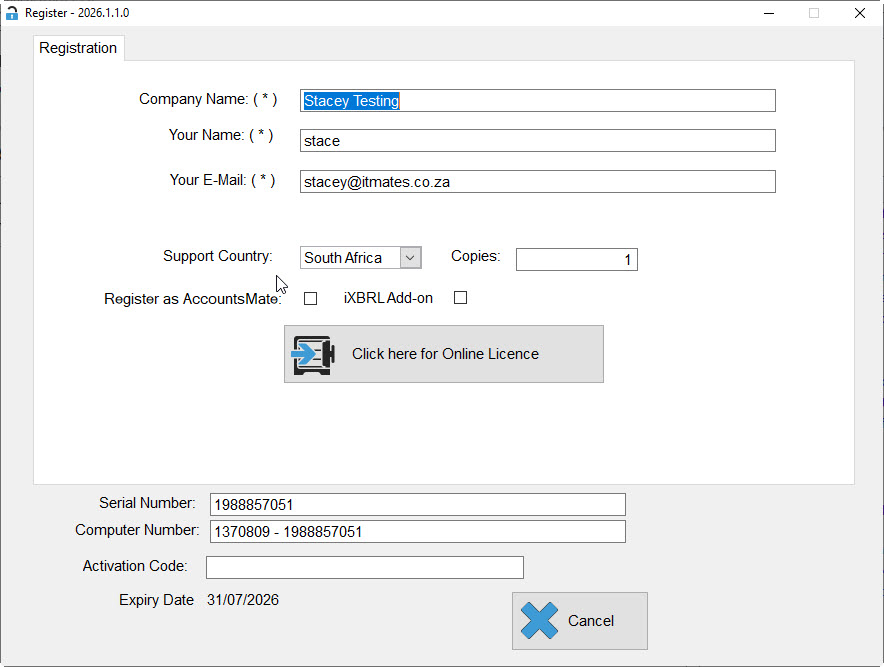
On this screen, input your company details. If you are a first-time user, use your own Company Name and choose your username and email address. If you are moving devices, make sure to look for any instructions from Stacey to guide you on which company name to use.
Once your details are added, select “Click here for Online Licence” and wait 5 minutes. After 5 minutes, click the button again and your licence should go through.
What happens when I click that button?
When you select “Click here for Online Licence”, a request gets sent to our licencing server, where we can see your details and activate your licence. If you are a first time user, your licence will not exist until you have clicked that button, at which point the licence will get created and one of our team members will activate it. This is why you will need to allow 5 minutes for activation – please do not spam click the licence request button.
You’ll notice the two fields on the registration screen, Serial Number and Computer Number; These fields are automatically populated with your device’s serial number and computer number. They cannot be edited manually, as they are unique identifiers for your device. Each licence is tied to these unique numbers to prevent duplication, ensuring that only the registered device can use that licence. This also explains why trying to register the same details on a different device won’t work—the unique device numbers must match to the registered licence for the licence to be issued. This is also why, when you transfer your licence, you must contact our support team prior to requesting a licence.
Once your licence request has been granted, you will get a pop-up message saying “Success! Program will now close to finalise licencing”. Click “OK” and re-open AuditMate.
You will now receive another pop-up prompting you with instructions for installing the Excel Add-In. This is one of the most important steps to follow, as your program will not work without proper installation of the add-in. Click “Yes” on the pop-up and follow the instructions, or continue reading this page.
EXCEL ADD-IN
Installing the AutoMate Excel Add-In is quick and easy. Please follow these steps:
- First, make sure all Microsoft Excel windows are completely closed. This is important for the installation to work correctly:
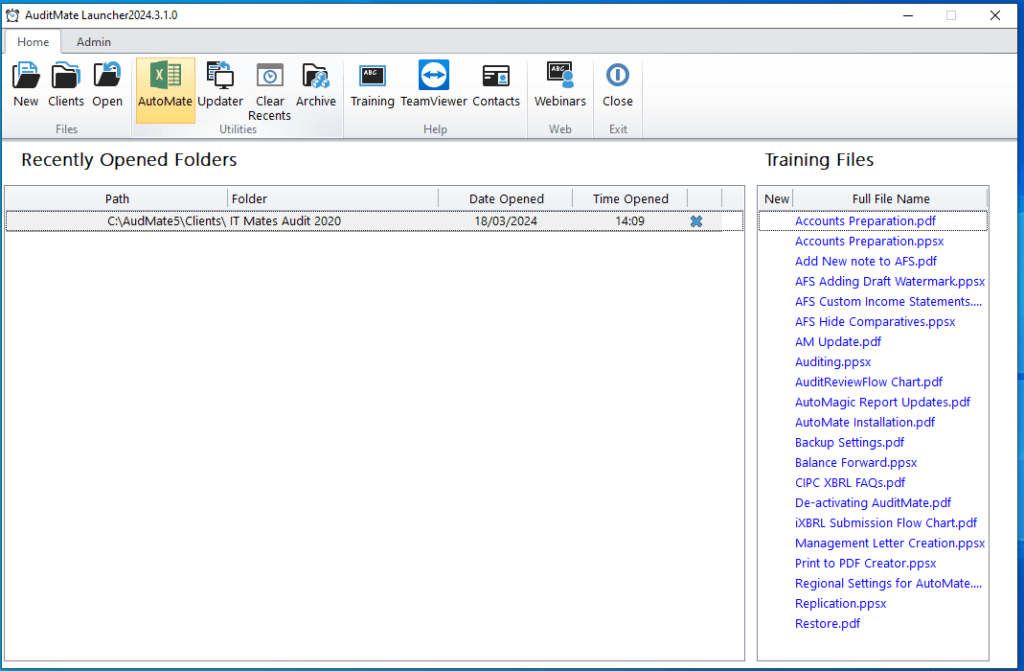
- Open AuditMate.
- On the AuditMate Launcher, click the “AccountsMate” button.
- When prompted, click “Yes.”
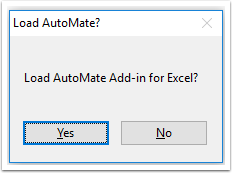
- Click “Yes” again on the next confirmation message.
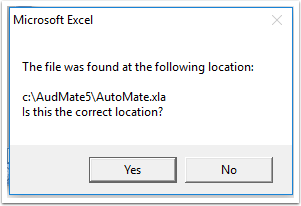
- Finally, click “Okay.”
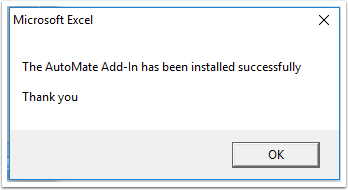
That’s it! The AutoMate Excel Add-In has now been successfully installed and set up. You can run this installation at any time if you think your add-in might be causing a problem.
You can now open Excel and use the add-in with AccountsMate.
Success!
And you are all done! You can now proceed to our Training page to view all our articles and webinars, and make use of the Training Files provided in the AuditMate software package.
Happy auditing and drafting!